

How to Code a Microcontroller Chapter 1
Coding a microcontroller is one of the most exciting skills you can choose to learn. Why? Simple unlike regular programming, you're not just writing lines of code on a screen. You're bringing logic to life. You’re controlling real-world hardware LEDs blink, motors spin, sensors reactall because you told them to.
That’s not just fun. That’s powerful. That’s what makes it deeply rewarding.
So yesif you’ve chosen this path, you're heading in the right direction.
In a world filled with software developers, knowing how to control the physical world makes you stand out. And when you combine that with TinyML machine learning on microcontrollers you’ve entered a whole new frontier.
A world where devices don’t just respond...
They learn.
They adapt.
They think.
According to Edge Impulse, by 2030, over 75 billion devices will be connected to the Internet of Things. And most of them will need to be smart, efficient, and capable of learning on the edge with exactly the kind of skills you’re learning now.
So here it is everything I’ve learned, laid out before you.
Let’s build something real. Let’s build something extraordinary.
Chapter 1-the Basics
Now, assuming you have no coding experience, let me be honest—it might feel a little boring at the start. But bear with me, because once you understand the basics, things start getting exciting fast.
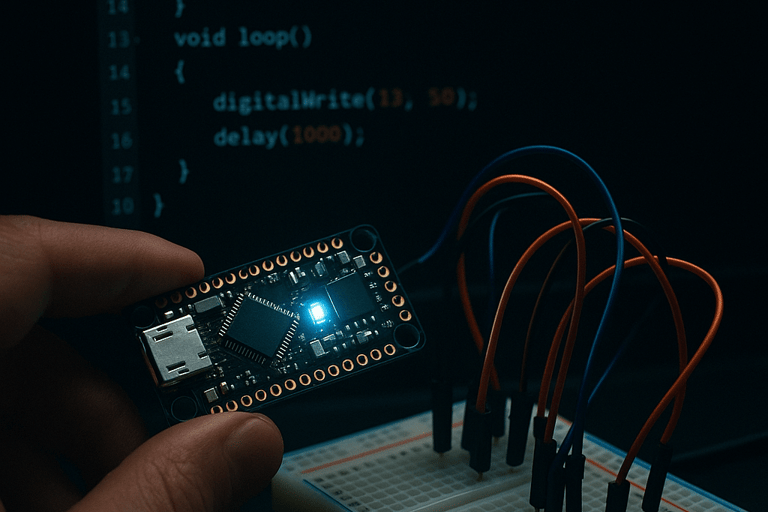
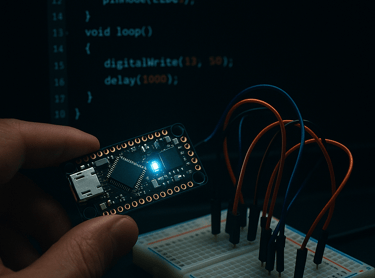
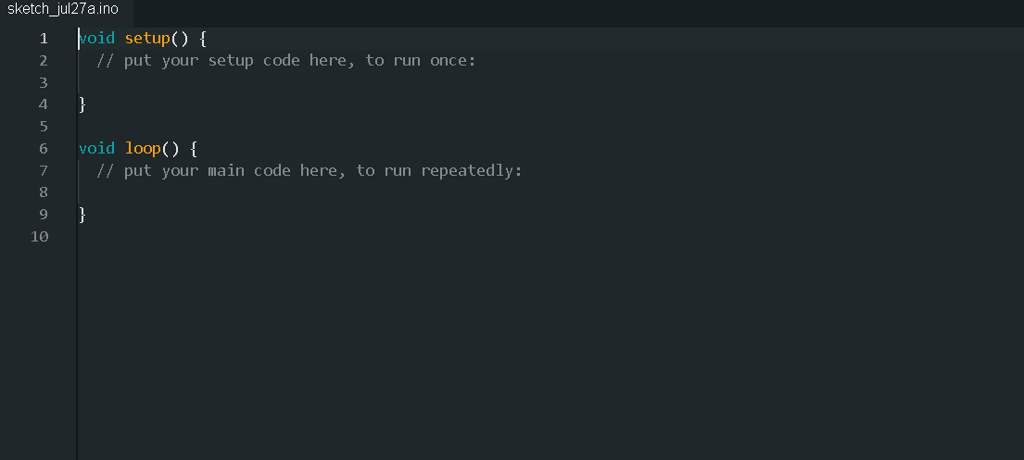
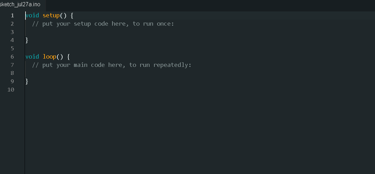
Let's Begin with the Arduino IDE Layout
When you open a new sketch (Arduino’s term for a code file), you’ll always see two default functions:
void setup()
void loop()
1. void setup() – The Initial Setup Zone
As the name suggests, this function is used to set things up. For example, let’s say you want to connect an LED to your microcontroller.
Now here's the catch your microcontroller has no idea what an LED is. It can’t "recognize" components. All it knows is that something is connected to one of its pins.
So, in the setup() function, we tell the microcontroller:
Which pin is connected
What type of connection it is (input or output)
Whether it’s digital or analog
For instance, if you're using pin 9 to control an LED, you'll write something like:
pinMode(9, OUTPUT);
This means: “Hey controller, pin 9 is connected to something (in this case, an LED), and you need to send current out through it.”
2. void loop() – The Heart of Your Code
This is where your main code goes the part that runs over and over in a continuous loop as long as the Arduino is powered on.
Think of it like the main storyline in a video game. Once everything is set up, this is where the action happens: blinking LEDs, reading sensors, controlling motors you name it.
For example, to make an LED blink, you might write this inside the loop() function:
digitalWrite(9, HIGH); // Turn LED on delay(1000); // Wait for 1 second digitalWrite(9, LOW); // Turn LED off delay(1000); // Wait for 1 second
This will keep repeating, causing the LED to blink on and off every second.
In Summary:
setup() runs once at the beginning to configure your hardware.
loop() runs continuously to carry out your main logic.
Staring with initializing the pins
Microcontrollers like the Arduino or ESP32 have multiple pins
Each pin has its own purpose, but most are used for either:
Input (e.g., reading a sensor)
Output (e.g., turning on an LED or buzzer)
These pins are further divided into:
Digital pins – can be ON (HIGH) or OFF (LOW)
Analog pins – can read or send a range of values (like dimming an LED

🔹 This line is placed outside of any function, which means it’s a global declaration.
That means the variable ledPin can be accessed anywhere in the program in setup(), loop(), or any other function.
🔹 int stands for integer, meaning ledPin holds a whole number in this case, the value 7.
So now, wherever you use ledPin, the compiler knows you’re referring to pin number 7 on the microcontroller.
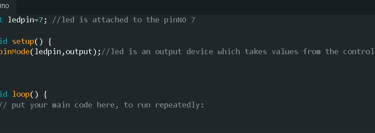
int ledpin=7;
void steup()
{
pinMode(ledpin,OUTPUT);
}
pinMode() is a built-in Arduino function used to configure the behavior of a pin.
You're telling the microcontroller:
“Pin 7 (which we named ledPin) is connected to a device and we’ll be using it as an OUTPUT.”
That means this pin will send voltage out perfect for controlling things like LEDs, buzzers, or relays.
Now that we’ve initialized the pin using pinMode,
let’s move to the part where we actually turn the LED on and off.
This is done inside the loop() function.
Void loop()
{
digitalWrite(ledpin,HIGH);
digitalWrite(ledpin,LOW);
delay(5000);
}
digitalWrite(ledPin, HIGH); – Sends 5V to pin 7, turning the LED ON
delay(2000); – Waits 2 seconds (2000 milliseconds)
digitalWrite(ledPin, LOW); – Turns the LED OFF
delay(5000); – Waits 5 seconds before looping again
KUOS!! if you have reached here you just wrote your first ever code in your microcontroller now this cant be the end of chapter 1..lets end it with a bang.
Since now we know how to take componets as input/output and intialize them.
let us write a program which turns off the led when a switch is pressed.
Assumption: No Button Bounce
Before we go further, let’s make one thing clear:
We're assuming the button does NOT have bouncing issues.
That means:
When the button is pressed down, the signal is clean and becomes HIGH.
When it’s released, it becomes LOW without rapidly flipping back and forth.
int ledpin=7;
int switchpin=8;
bool ledon=false;
bool laststate=LOW;
void setup() {
pinMode(ledpin,OUTPUT);
pinMode(switchpin,INPUT);
// put your setup code here, to run once:
}
void loop() {
bool currentstate=digitalRead(switchpin);
if(currentstate==HIGH && laststate==LOW)
{
ledon=!ledon;
digitalWrite(ledpin,ledon);
}
laststate=currentstate;
delay(50);
}
In this example, we control an LED using a push button.
Every time you press the button, the LED will toggle ON to OFF or OFF to ON.
bool means boolean — it can only be true (HIGH) or false (LOW).
ledOn keeps track of the LED’s current state.
lastState stores the button’s previous state to detect changes.
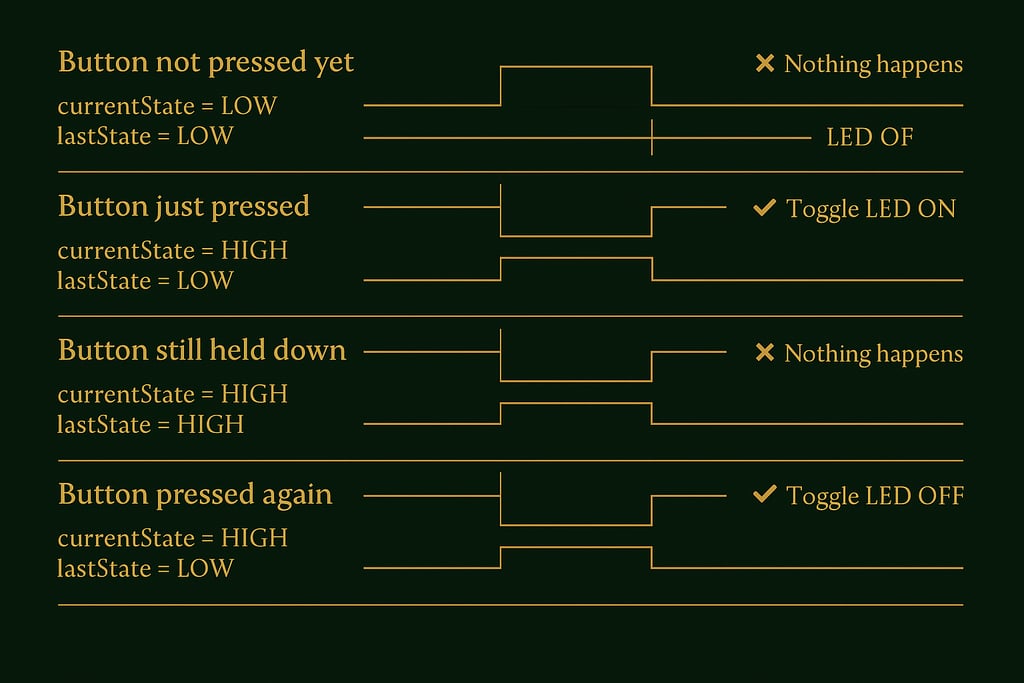
1. Button is not pressed yet
currentState = LOW
lastState = LOW
The if() condition (currentState == HIGH && lastState == LOW) is false
Nothing happens the LED stays in its last state (OFF by default)
2. Button is just pressed (first time)
currentState = HIGH
lastState = LOW
This is a rising edge the moment when the button transitions from unpressed (LOW) to pressed (HIGH)
The if() condition is true
Inside the if() block:ledOn = !ledOn; → toggles from false to true
LED is turned ON with digitalWrite(ledPin, HIGH);
3. Button is still being held down
currentState = HIGH
lastState = HIGH (updated from last loop)
The if() condition is now false because both states are HIGH
So the loop skips the if() blockLED stays ON it’s not toggled again
4. Button is released
currentState = LOW
lastState = HIGH
Again, if() condition is false
No toggle happens
LED still stays ON
5. Button is pressed again (second press)
currentState = HIGH
lastState = LOW (because we updated lastState = currentState at the end of the previous loop)
The if() condition is true again
Inside the if() block:ledOn = !ledOn; → toggles from true to false
LED is turned OFF with digitalWrite(ledPin, LOW);
Summary:
The LED toggles only on the moment of pressing, not while holding.
This logic ensures that a single button press toggles the LED once, even if you keep the button pressed down.

And That’s a Wrap for Chapter 1!
You made it! Now that you’ve learned the basics pin setup, LED control, button toggling
you’ve taken your first real step into the world of microcontrollers.
Your Challenge:
Now it’s your turn.
Try using 2 buttons, or heck throw in 10.
Make something chaotic. Make it weird.
Lose yourself in this new world of logic and lights.
Because this is where learning gets fun when you stop just reading… and start experimenting.